Recently Blogger announced changes to the way the blogs will work in the future. There is an option to try the 'new blogger' which I did but thought it was'nt very intuitive so reverted to the old layout.
Unfortunately the new layout will become standard after July of this year so it's time to move. Also after researching Blogger it appears your content is not your own and Blogger (or Google who own Blogger) can delete it without warning which I found unnerving, especially with nine years worth of content.
The new blog is on Wordpress so if you want to keep following me I'll be over here;
https://wordpress.com/view/andykingsmodelblog.wordpress.com
The new blog is live but I'm still finding my way around it, however the fact I am able to do so tells me it is a bit more 'user-friendly' than the new-look Blogger (to this old fart anyway) and after nine years it's overdue for a makeover.
Thursday 11 June 2020
Monday 8 June 2020
Trumpeter 1/35 SA-6 Gainful
I added some more details to the cabin bulkhead, the main part being a box with 43 buttons on the front. After making the basic shape from plastic sheet I drew vertical and horizontal lines on the front for the rows of buttons as these had to be straight, after which I drilled a series of 0.5mm holes through the front.

Using 0.5mm dia plastic rod cut to 3mm lengths, these were inserted into the holes to represent the buttons. When they were all in I carefully sanded the ends of the rods to make sure they all matched;

The box was then glued into place on the bulkhead and apart from a couple of other parts that need making, this area is pretty much complete.

Sunday 7 June 2020
Italeri 1/72 Lockheed MC-130H Hercules
My son was visiting me the other day and I asked him if he could bring the rest of my built up models that were still in the loft at my ex-wifes' house.
I was mainly after an Airfix 1/72 Canberra that I converted many years ago and a couple of other models but in the box was an old Italeri 1/72 C-130E/H that I had converted to a MC-130H configuration about 10 years or so ago using a Flightpath conversion set.
I had completely forgotten about this build as it was one of those I lost interest in for various reasons, mainly due to dropping it after it was painted and breaking a wing off as I recall. I did glue the wing back on and repainted it but the join was still visible so it got put in a box in the loft and quietly forgotten about.
Looking at the model today I had actually put a lot of work into it originally such as offsetting the elevators and rudder, rescribing all the panel lines, fitting replacement resin engines as well as converting it an MC-130H with the funny nose.
I found most of the kit parts that would finish the model as these were bagged and put in the spares box shortly after shelving the project, what I can't find are the undercarriage doors as I might have thrown them away for some stupid reason. Anyway the shapes of the doors are pretty simple so I should be able to fabricate new ones.
I have just ordered a Wolfpak Decal sheet that features two MC-130H's and may get a resin wheel set as the Italeri ones are pretty bland. The colour scheme I originally chose was the three-tone 'European 1' as I was hoping to do an MC-130 that I saw at an airshow in the mid-90's that featured the well known 'Death Dealer' figure on horseback. Pretty stupid really as there was no decal sheet available and the only way would have been to hand paint it.
The new decal sheet features an aircraft in a two-tone grey and has some artwork on it so that works instead.
I know the first job will be to clean the model as it is filthy!
We'll see how it goes as I have other stuff on the go at the moment but it would be good to bring this one back from the dead as a few other shelf-queens didn't survive as I had to be ruthless when I was moving out.


Saturday 6 June 2020
Trumpeter 1/35 SA-6 Gainful
After chopping the hull, extending it, filling it and sanding it I was going to just leave it all closed up and get on with the build however I had always fancied detailing the interior when I bought it originally.
I got the WWP book on the SA-6 a while back and it is useful but a lot of the cabin interior has been missed out so I was having to guess the basic layout until one of my modelling friends supplied me with a whole host of interior and exterior pictures. FANTASTIC!
No excuses now so hopefully I can make steady progress as the interior is pretty complicated and I'm making everything from scratch. As long as it's close enough I will be happy and to be honest I am really enjoying it too.

The length of the cabin is about 45mm (2 3/4") so it will give you an idea of the scale.
Friday 5 June 2020
Airfix 1/48 Hawker Sea Fury
In an earlier post I said how after painting the model it showed up some flaws in the cowling that I missed after the primer coat such as a couple of pin holes and what I hope is just a run in the primer rather than a moulding defect. If it is a defect I'll swap the cowling as I have another kicking around the bench.
It also showed up that the gaps between the cowling and fuselage at the top and bottom were more prominent than I first thought so now the paint has had time to harden off I filled them with white superfine Milliput and smoothed out the putty with a cotton wool bud (Q-tip) and water, that way the paint was'nt damaged.
The pin holes were filled with superglue and along with the paint run on the cowling side, sanded out and the area polished with a ladies nail buffer.
When the Milliput has set I'll respray the model as I missed a couple of areas the first time around;

Wednesday 3 June 2020
Trumpeter 1/35 SA-6 Gainful
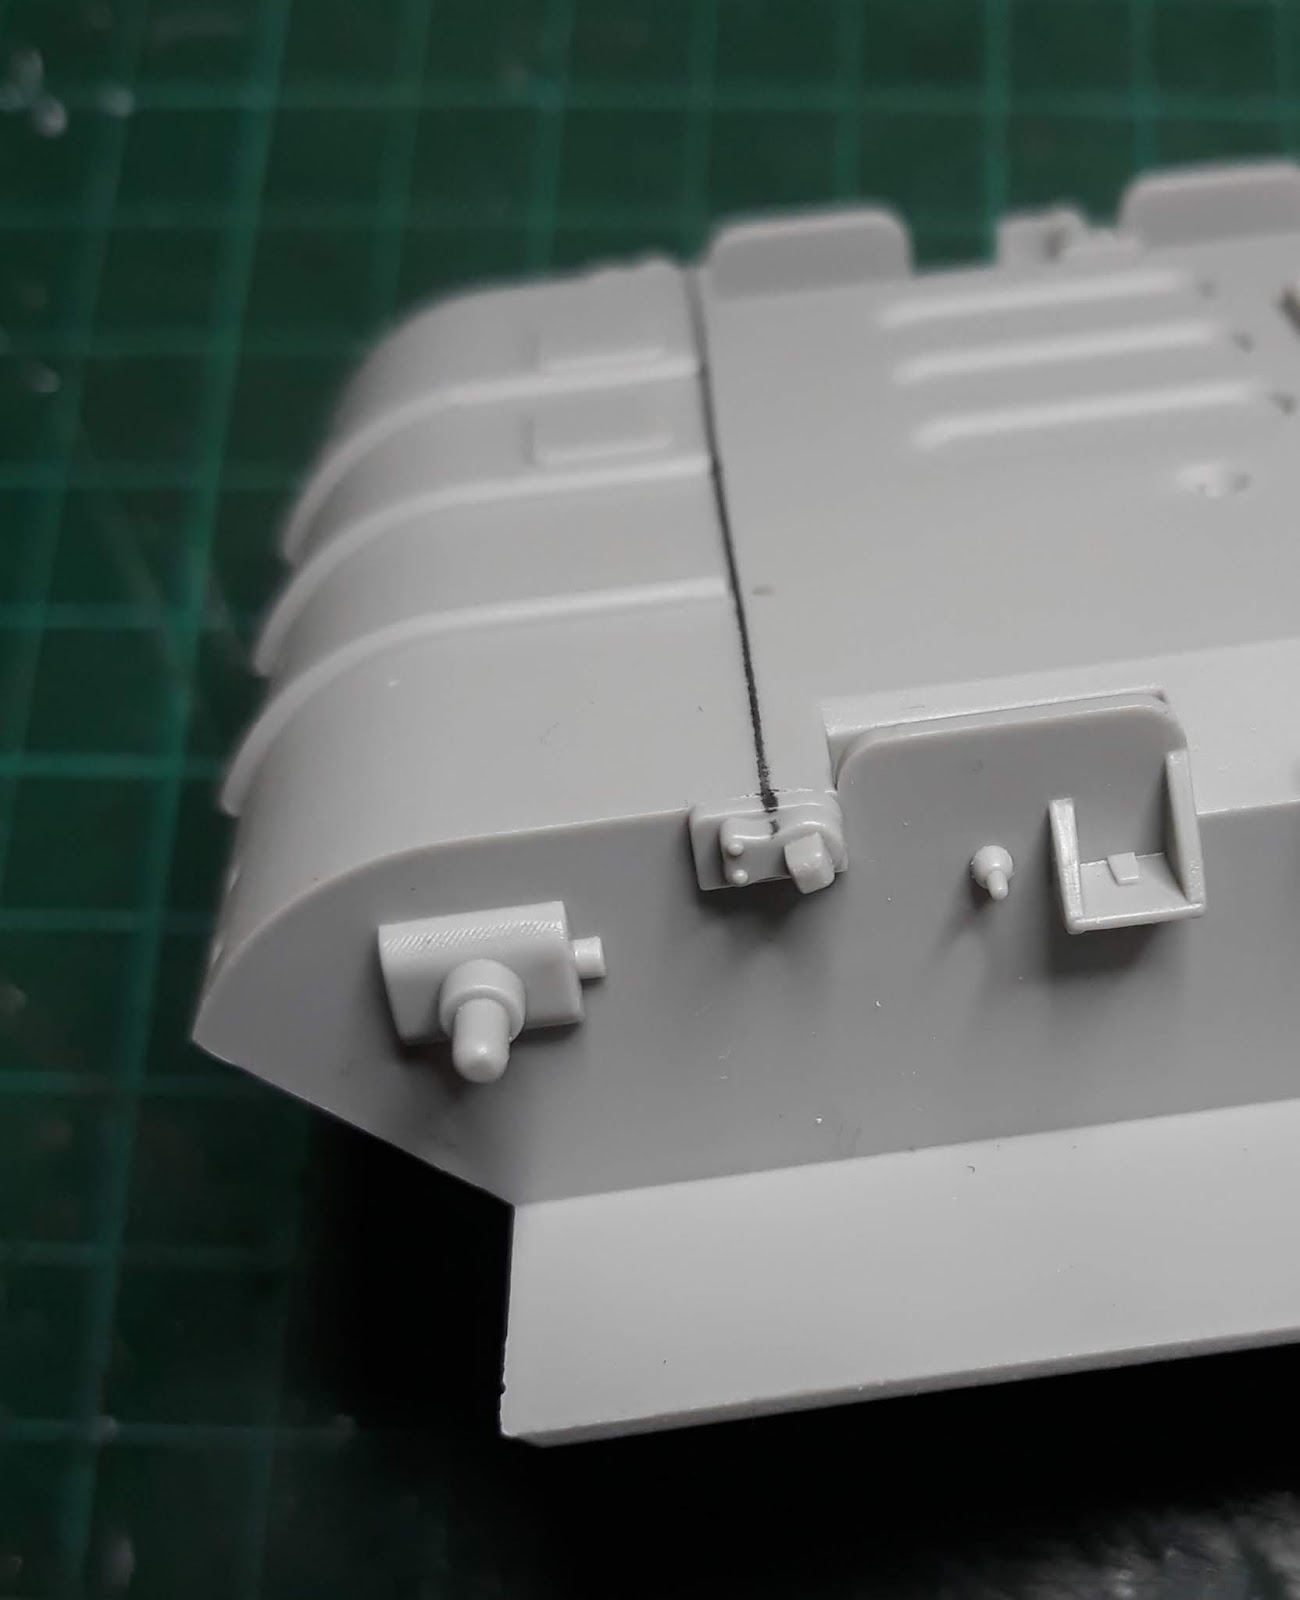
In the previous post I was explaining how the lower chassis was too short by 6mm...not any longer.
The cuts were made front and back, cleaned up, strips of .040 thou styrene were glued into place then the front of the hull was joined to the rear.
I used more strips of styrene to strengthen the join on the inside and when set I will fill and sand the hull as my joinery skills are not that stellar.


In the lower picture you can really see the difference the extension makes to the rear hull.
As for the swing arm locating pin I just sawed it off and will glue some plastic strip to the back of it to bring back the depth.
Trumpeter 1/35 SA-6 Gainful
To get the ball rolling on this I have to cut the lower hull in two places. The first cut is directly behind the three raised ribs at the front of the hull however one of the location points for a swing arm is here so I will make a mould of it out of Milliput.
When dry I'll melt some sprue from the kit and push it into the mould and hopefully it will reproduce the part. Failing that I will have to make a new one from scratch.


The other end of the lower needs 6mm removing and just goes to show how far out the Trumpeter kit really is here. From what I have read and seen so far this is the only real issue with the kit, I'm just hoping there are enough track links included to cover the extra distance.
When dry I'll melt some sprue from the kit and push it into the mould and hopefully it will reproduce the part. Failing that I will have to make a new one from scratch.

The other end of the lower needs 6mm removing and just goes to show how far out the Trumpeter kit really is here. From what I have read and seen so far this is the only real issue with the kit, I'm just hoping there are enough track links included to cover the extra distance.
Subscribe to:
Posts (Atom)