Monday 21 May 2018

ICM 1/35 ZiL-131

This is another one I started last year but got bored with. I had actually primed it but it got shelved however I was thinking about this model the past week so I got it out to see what I could do with it.
Although the markings I have in mind for it are pretty specific (Ukraine 2015 or thereabouts) I want to make it look abandoned and rusty so I sprayed the model with Tamiya XF-9 Hull Red then mixed in their matt orange and resprayed random areas;


When dry I decanted the cheapo hair spray I use for chipping purposes from the can into a spare jar and sprayed the cab, bonnet and roof using an old Badger 200 that I had renovated and brought back into service. Using hairspray straight from the can just floods a model and you end up removing large areas of paint when chipping so an airbrush gives you greater control.
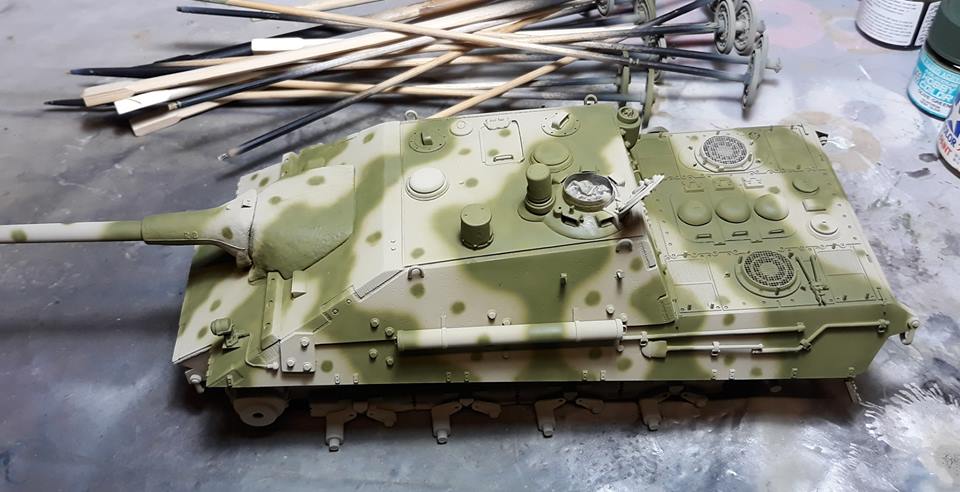
The model was sprayed using a mix of Tamiya XF-58 and yellow;


I then left it for an hour or so then using a stiff brush (the cheap nylon ones you find in the art section of a bargain book shop) the model was held under hot running water and the paint scrubbed off. I actually removed a big section on one side so had to spray it with hairspray again and repaint it. I'm quite happy with the results so far and when the cab is masked off I'll repeat the process for the rest of the chassis;


The markings I'm planning feature yellow and blue stripes on the front grill and ends of the front bumper however it's going to be very tricky matching the shades on the decal sheet so this may just be an overall green vehicle.

Thursday 17 May 2018

Heller 1/72 Mirage IV

After the wings warped a few weeks ago when trying to get the starboard wing down to match the port one I shelved the project and cleared the bench, however after a few days I ordered another kit via Ebay. When it arrived I once again rescribed the wings and to counter the starboard wing issue (which surprisingly is still there on the newer kit) I put a thin strip of Evergreen plastic sheet into the wing root, filling and sanding later on.
In fact the kit needed a fair amount of filling especially around the air intakes, forward fuselage, nosecone and the underside where the wing assembly joins up with the fuselage;


With all the joints cleaned up I sprayed the cockpit interior black, repainted the two Martin Baker ejection seats I had found in the spares box then gave both cockpit and seats a dry brush with Vallejo medium sea grey. The canopies and windscreen were masked off with Tamiya tape and glued into place with GS Hypo cement which is used by watchmakers and jewellers and very useful for model transparancies as unlike superglue it doesn't attack clear plastic.
When dry the gaps around the canopies will be filled with PVA glue (after I've washed it down) then it will get a coat or two of primer as I feel it's still a bit rough in areas I've filled.


Friday 11 May 2018

Airfix 1/48 P-51D Mustang

Well I tried! I rubbed down the affected areas but where I got down to bare plastic then resprayed the model these areas stood out like a sore thumb so fuck it, the nuclear option was deployed;


The model is back to bare plastic, unfortunately there was a lot of interior green paint leaking out. I'm hoping it was just from the wheel wells as I can respray that area but if the cockpit paint is affected then it is totally fucked. Some cockpit parts need touching up and the seat belts have come loose so we'll see when the model has dried out if the project is worth pursuing.


Thursday 10 May 2018

E-75 tank destroyer

I actually primed this last year using matt black from the new AK Real paint but it got pushed to the back of the queue due to losing interest, however after the nightmare with the Airfix P-51 finish I decided to get this one on the bench again just to prove to myself that I can actually spray stuff without it going wrong.
The base coat was again from the AK range using RC061 Dunkelgelb Ausgabe 44 and pretty much straight after spraying that the camo was applied freehand using a Badger 100 and Mr Hobby H405 Olivegrun lightened with Tamiya XF-3 Yellow;


So far so good! The next step is to apply a coat of gloss varnish to get it ready for any decals I might apply and the start of the weathering process.
I also need to spray the exhausts in various shades of brown and orange, coat them with hairspray decanted from the tin and when dry spray them in the basecoat. After this they will be chipped using a hard brush and warm water.
I like the AK Real paints but a couple of things I've learned is not to spray them OVER Tamiya paint thinned with their own thinner or IPA (I found that out with the Mustang), also when thinning the paint do it in a jar rather than the paint cup on the airbrush as I found it difficult to get the paint flowing

Tuesday 8 May 2018

Airfix 1/48 P-51D Mustang. I give in!

I sprayed the model with Vallejo Metal Colour Aluminium and as this stuff is quite thin it can go straight through an airbrush, however the needle tip started clogging fairly quickly so I added a few drops of acrylic retarder to slow the drying time down a bit.
I have to say the finish is really nice and smooth, unfortunately a few days ago some model boxes fell over and caught the Mustang and although I inspected the model before spraying tonight the Vallejo paint showed up a few dings and added with all the other defects in the base coat I've had enough and this model will not progress any further.
Anyway this how it turned out;


As has been pointed out to me and in articles I've read the base coat HAS to be flawless otherwise the aluminium paint will show every defect so I think I've reached my limit painting-wise and will stick to camouflaged subjects in future.
Also USAAF aircraft continue to be my achilles heel as this is number 5 that I've fucked up...weird....

Thursday 3 May 2018

Airfix 1/48 P-51D Mustang

Mainly to stop myself falling asleep in the evenings and the fact this model is bugging me I decided to give it another go. Even though the upper engine cowl had been rubbed down numerous times I could still see where the paints had reacted so using neat IPA (Iso Propyl Alcohol) I cleaned all the paint off down to bare plastic, this area was again rubbed down;


After clean up the entire model was resprayed with Tamiya X-1 gloss black;


The model will be left to cure before applying a coat of rattle can silver, probably Tamiya TS-17 aluminium silver or whatever I have in stock rather than mess about with Alclad, just so I can get the bloody thing finished.
Anyway at the moment I have a shiny black Mustang, if things go wrong again it will either become a test piece or a landfill item depending on my mood.